You always brush twice a day, avoid sugary snacks between meals, and go to the dentist
regularly. Do you still have to floss your teeth?
The short answer: Yes, at least once a day. Flossing is probably your single most
important weapon against plaque, the clingy bacterial biofilm that sticks to the
surfaces of your teeth. Plaque is the principal cause of tooth decay; but it is
also the cause of periodontitis (gum disease), bad breath, and other maladies. Brushing
is a good start but flossing removes plaque in places a brush can't reach, like
the small gaps between teeth and under the gums. It also polishes tooth surfaces
and decreases the risk of gum disease.
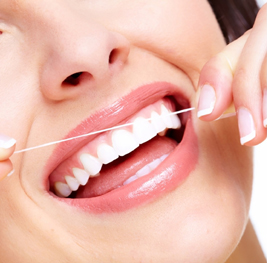
Some people may think they don't have time to floss, but once you get the hang of
it, flossing only takes few minutes. If you are going to floss only once a day,
it's best to do it at night just before going to sleep. That's because there is
less saliva present in your mouth when you are sleeping, so plaque is more concentrated
and potentially more harmful. Just in case you never really learned proper flossing
techniques, here's a step-by-step approach including some easy tips for doing a
great job.
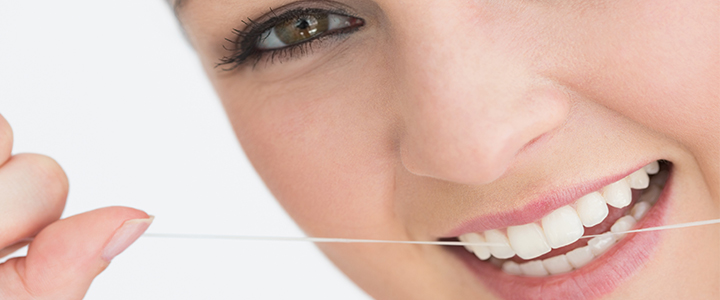
Proper Flossing Technique
- Cut off a piece of floss about 18 inches long. Wind it around
the middle finger of both hands leaving a gap of around three or four inches. You
will now be able to use different combinations of your thumbs and index fingers
to correctly position the floss between your teeth for all areas of your mouth.
Tip: The most common mistake people make while flossing is that they tighten
their lips and cheeks making it impossible to get their fingers into the mouth.
Relax your lips and cheeks.
- Now, guide the floss gently into the space between your teeth.
Tip: Even if the gap is tight, try not to snap the floss into your gums as
you're inserting it. A side-to-side sawing motion is good to use here, but only
when slipping the floss gently between the teeth.
- There are two sides to each space between your teeth and you
must floss each side separately so as not to injure the triangle of gum tissue between
your teeth. Run the floss up and down the surface of the tooth, making sure you
are going down to the gum line and then up to the highest contact point between
the teeth. Apply pressure with your fingers away from the gum triangle, letting
it curve around the side of the tooth forming the letter “C” with the floss.
Tip: You want your fingers as close to the front and back of the tooth as
possible so both fingers move in harmony up and down until you hear a squeaky clean
sound. This is easier with un-waxed floss. The smaller the amount of floss between
your fingers, the more control you will have while flossing.
- Next, move your fingers to the top contact area between the
teeth and slide across to the other side of the space. Apply pressure with your
fingers in the opposite direction and repeat.
- Slide the floss out from between the teeth. If it's frayed
or brownish, that's good: you're removing plaque! Unwind a little new floss from
the “dispenser” finger, and take up the used floss on the other finger.
- Repeat the process on the next space between teeth. Work all
around the mouth and don't forget back sides of the last molar teeth.
If you're having trouble with the two-finger method, here's another way to try flossing:
Just tie the same amount of floss into a big loop, place all your fingers (but not
thumbs) inside the loop, and work it around your teeth with index fingers and thumbs.
All the other steps remain the same.
Once you've got the basics down, there are a few different types of flosses you
can try, including flavored, waxed, and wider width. Some people find waxed floss
slides more easily into tighter gaps between teeth or restorations, but it may
not make that satisfying “squeak” as it's cleaning. Others prefer wide floss for
cleaning around bridgework. But whichever way works best for you, the important
thing is to keep it up!